From Hide to Hero: Transform Your Genuine Leather with These Punching & Gluing Hacks
You've invested in a beautiful piece of genuine leather. It smells amazing, feels supple, and has so much potential. Now, how do you ensure your craftsmanship does it justice? The secret often lies in two crucial but sometimes overlooked stages: punching and gluing.
These steps are the unsung heroes of leatherwork. Get them right, and your project will look crisp, last for decades, and boast a flawless structure. Let's unlock some pro-level hacks.
Punching Hacks for Impeccable Stitching:
-
The "Tag Team" Punch for Thick Leather: Struggling to pull your pronged punching tool through multiple layers? Don't force it and risk breaking the tool or misaligning the holes. Instead, punch halfway through from one side, then flip the piece over and use the partial holes to guide you punching from the reverse side. Perfect alignment, zero strain.
-
The Sharpie Trick for Perfect Spacing: Want perfectly spaced stitching holes without an expensive stitching chisel? Use a wing divider to scribe your stitch line. Then, take a regular fine-point Sharpie and make a tiny dot along the line at your desired interval. Use your punching tool on each dot. The marks will vanish during dyeing or burnishing!
-
Keep It Slick: A quick rub of beeswax on the prongs of your punching tools reduces friction, allowing for cleaner entry and exit holes and making the tool easier to pull out.
Gluing Hacks for an Invisible, Unbreakable Bond:
-
The Sandpaper Secret for Slick Surfaces: Gluing glossy or finished leather? Lightly scuff the gluing areas with high-grit sandpaper (e.g., 800 grit). This creates microscopic grooves for the adhesive to grip onto, transforming a weak bond into an incredibly strong one.
-
Less is More: Smothering a piece in glue doesn't make a stronger bond; it just creates a sticky mess that can seep through and ruin your project. Use a thin, even layer on both pieces. The goal is full, even coverage, not a thick glob.
-
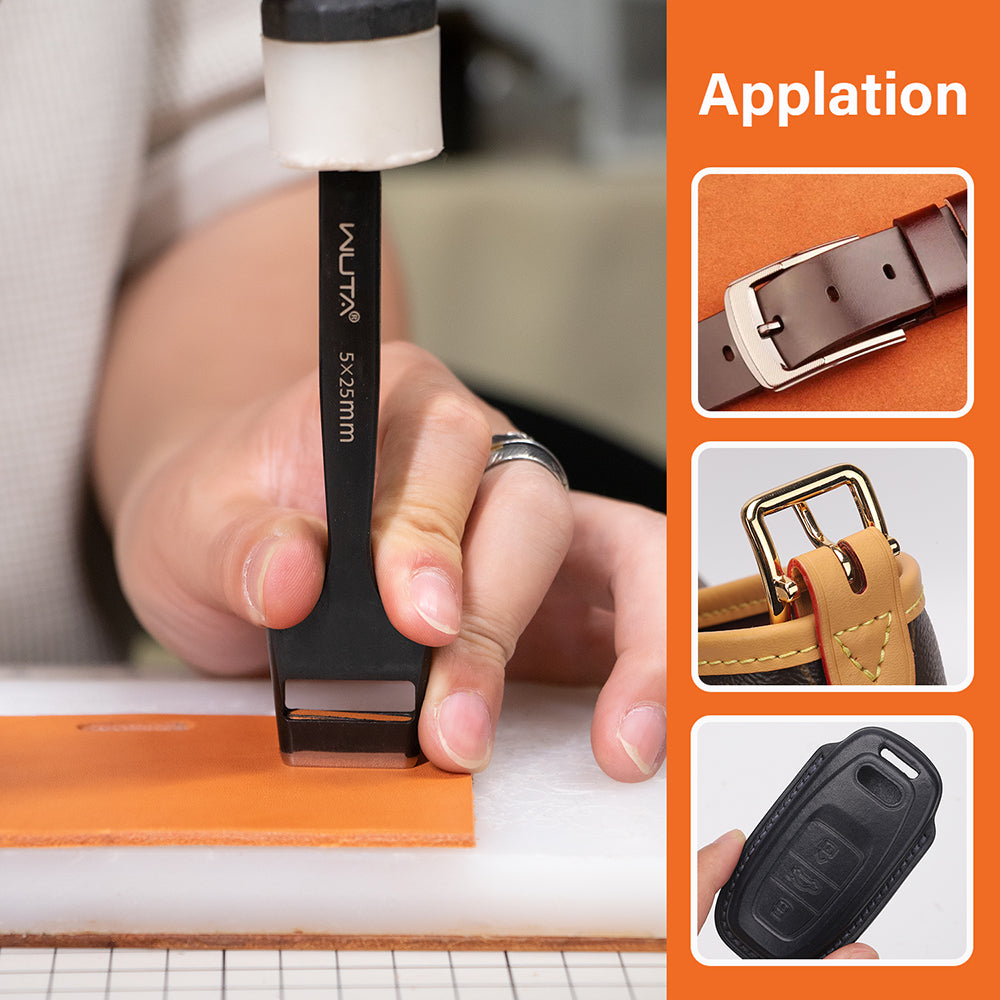
The Hammer Set: After applying glue and aligning your pieces, don't just clamp it and walk away. Take a poly or rawhide mallet and gently but firmly tap across the entire glued surface. This "sets" the glue, ensures perfect contact, and pushes out any tiny air bubbles, creating a phenomenally strong, seamless bond.
By mastering these simple yet powerful techniques, you elevate your work from amateur to artisan. Your genuine leather deserves nothing less. Transform your hide into a hero project today!